Inspiration and Criteria for Hat Hanger

Why Hat Hangers?
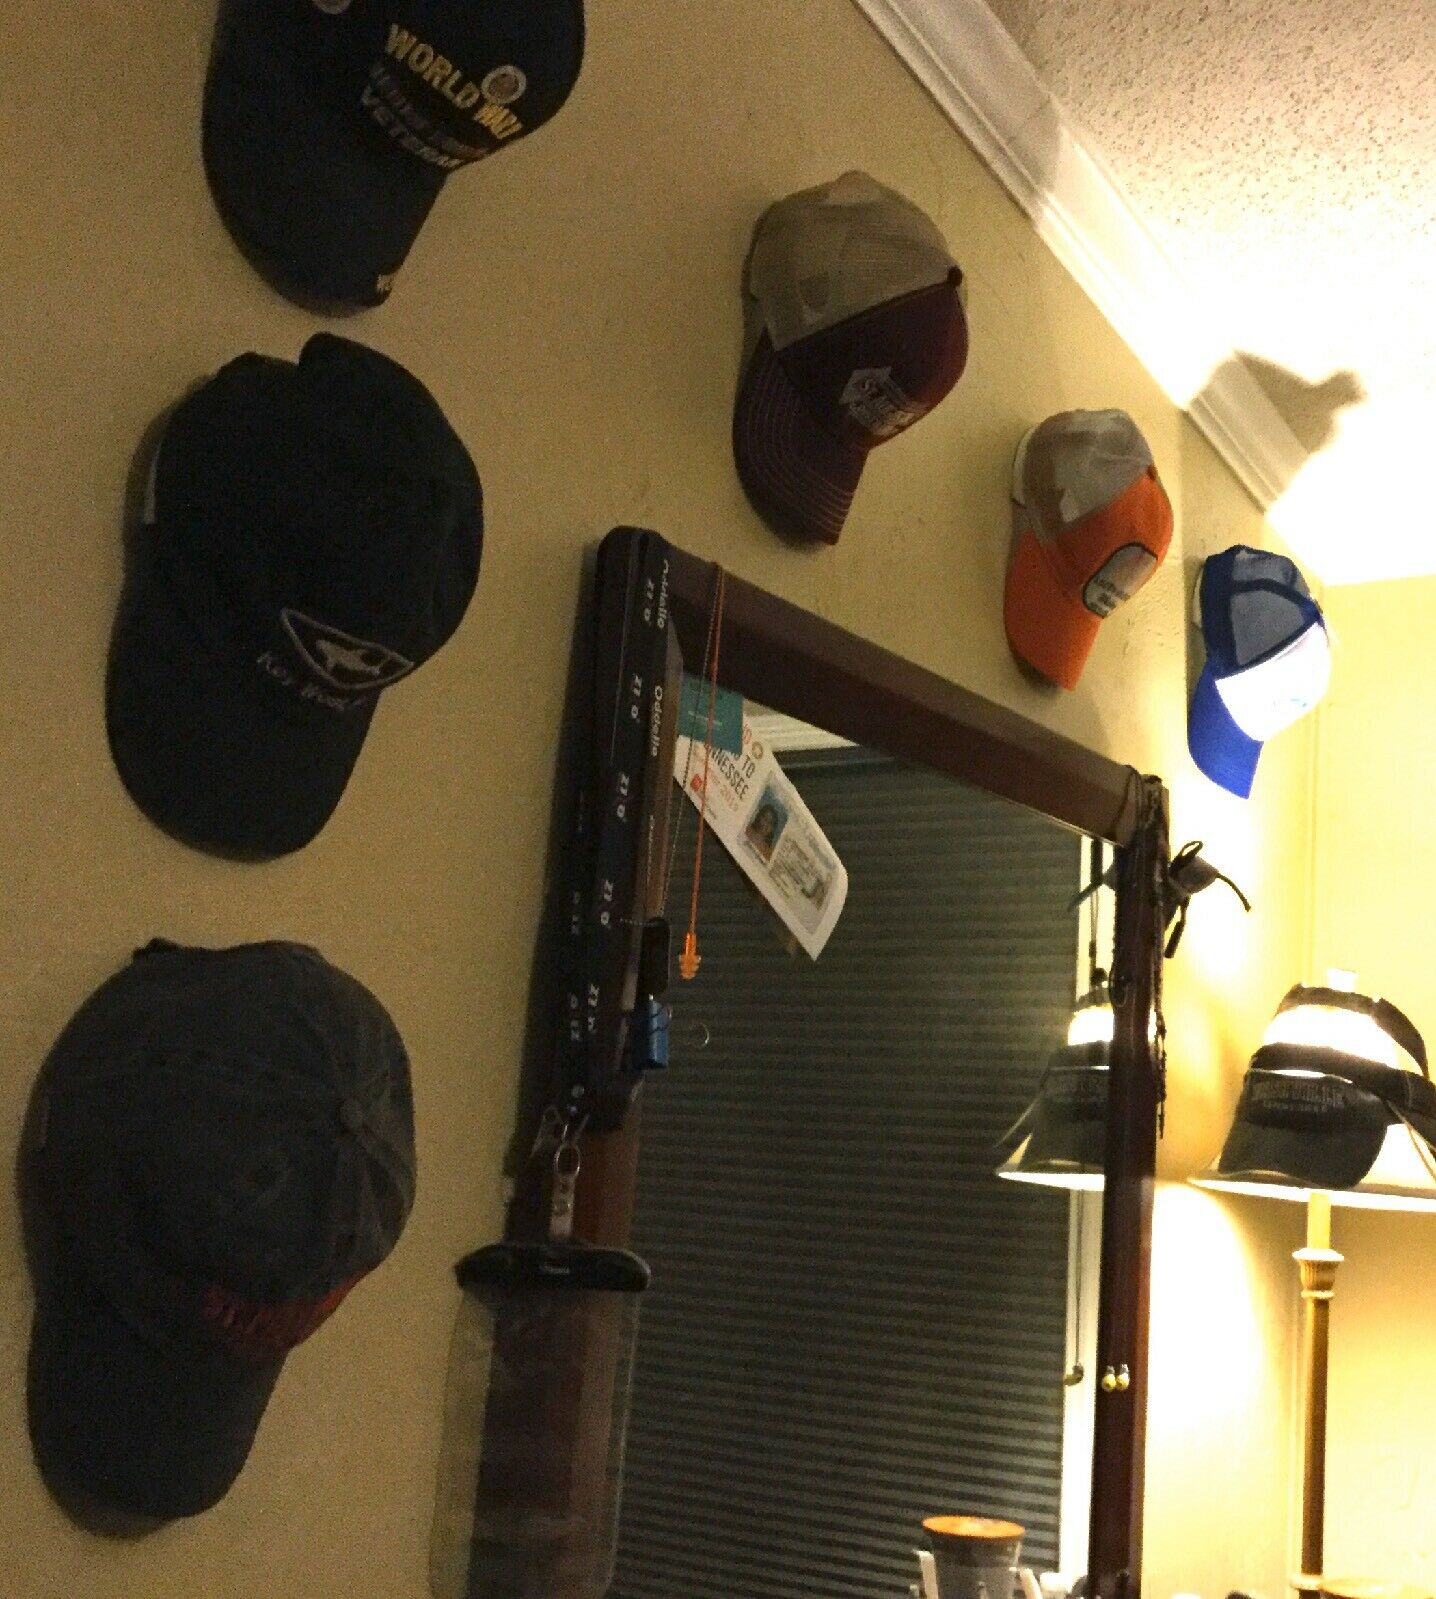
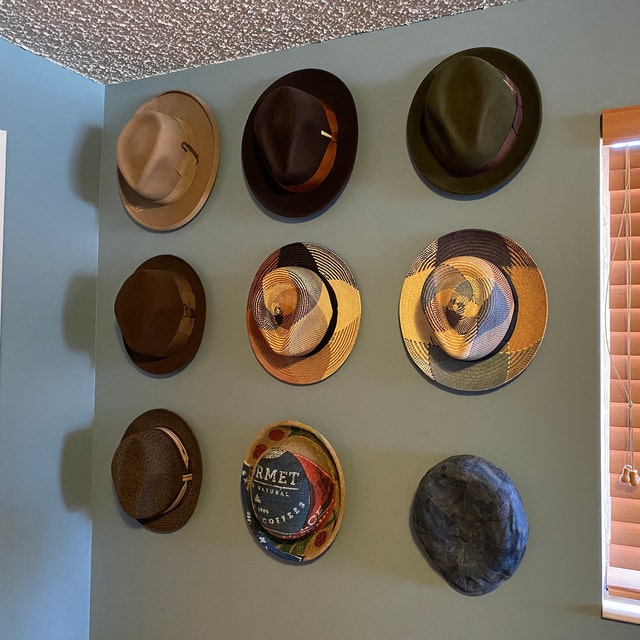
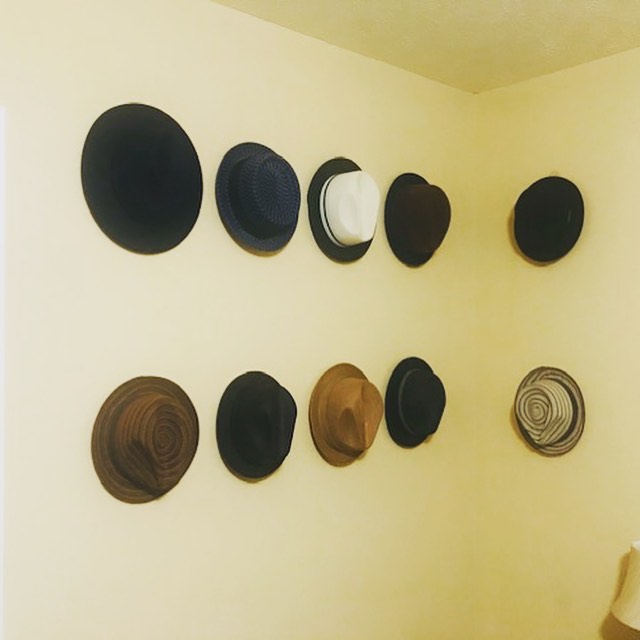
Hi, my name is John. I am the owner and inventor of Hat Hangers. I’ve always liked collecting hats but hated trying to find a way to show them off or store them. The only option really was to use multiple hooks screwed to the wall. This posed problems because it was always misshaping my hats to the point I couldn’t wear them again. So basically I would buy some hats just to hang on the wall and use other hats for daily use that would sit on the counter or my dresser. The other problem was that I had to put holes in my walls for hanging the hooks used to store my hats. Whenever I wanted to move it I either had holes in the wall or I had to patch, sand and paint my wall to keep it looking nice. I finally stopped buying hats to show off because they would eventually end up in a stack in the closet and I would forget I even had them. After scouring the internet for weeks trying to find something that would work I finally decided the product that I wanted wasn’t out there. I decided to finally try and make my own. And after a couple of years and hundreds and hundreds of designs, materials and mock ups I finally had what I wanted.
The criteria that I was working with was:
#1. It had to keep the shape of the hat. I didn’t want to keep wrecking hats
#2. It had to be hidden behind the hat because I only wanted people to see the hats
#3. It had to be super easy to mount on the wall.
#4. It had to be removeable without damage to the walls.
#5. I wanted it to be repositionable in case I mounted it crooked.
#6. I wanted a design that even if it was a little crooked you wouldn’t notice it because it was hidden.
#7. I wanted a renewable material.
#8. It had to be very affordable.
#9. It had to be of a size and shape that didn’t cost a lot of money in shipping.
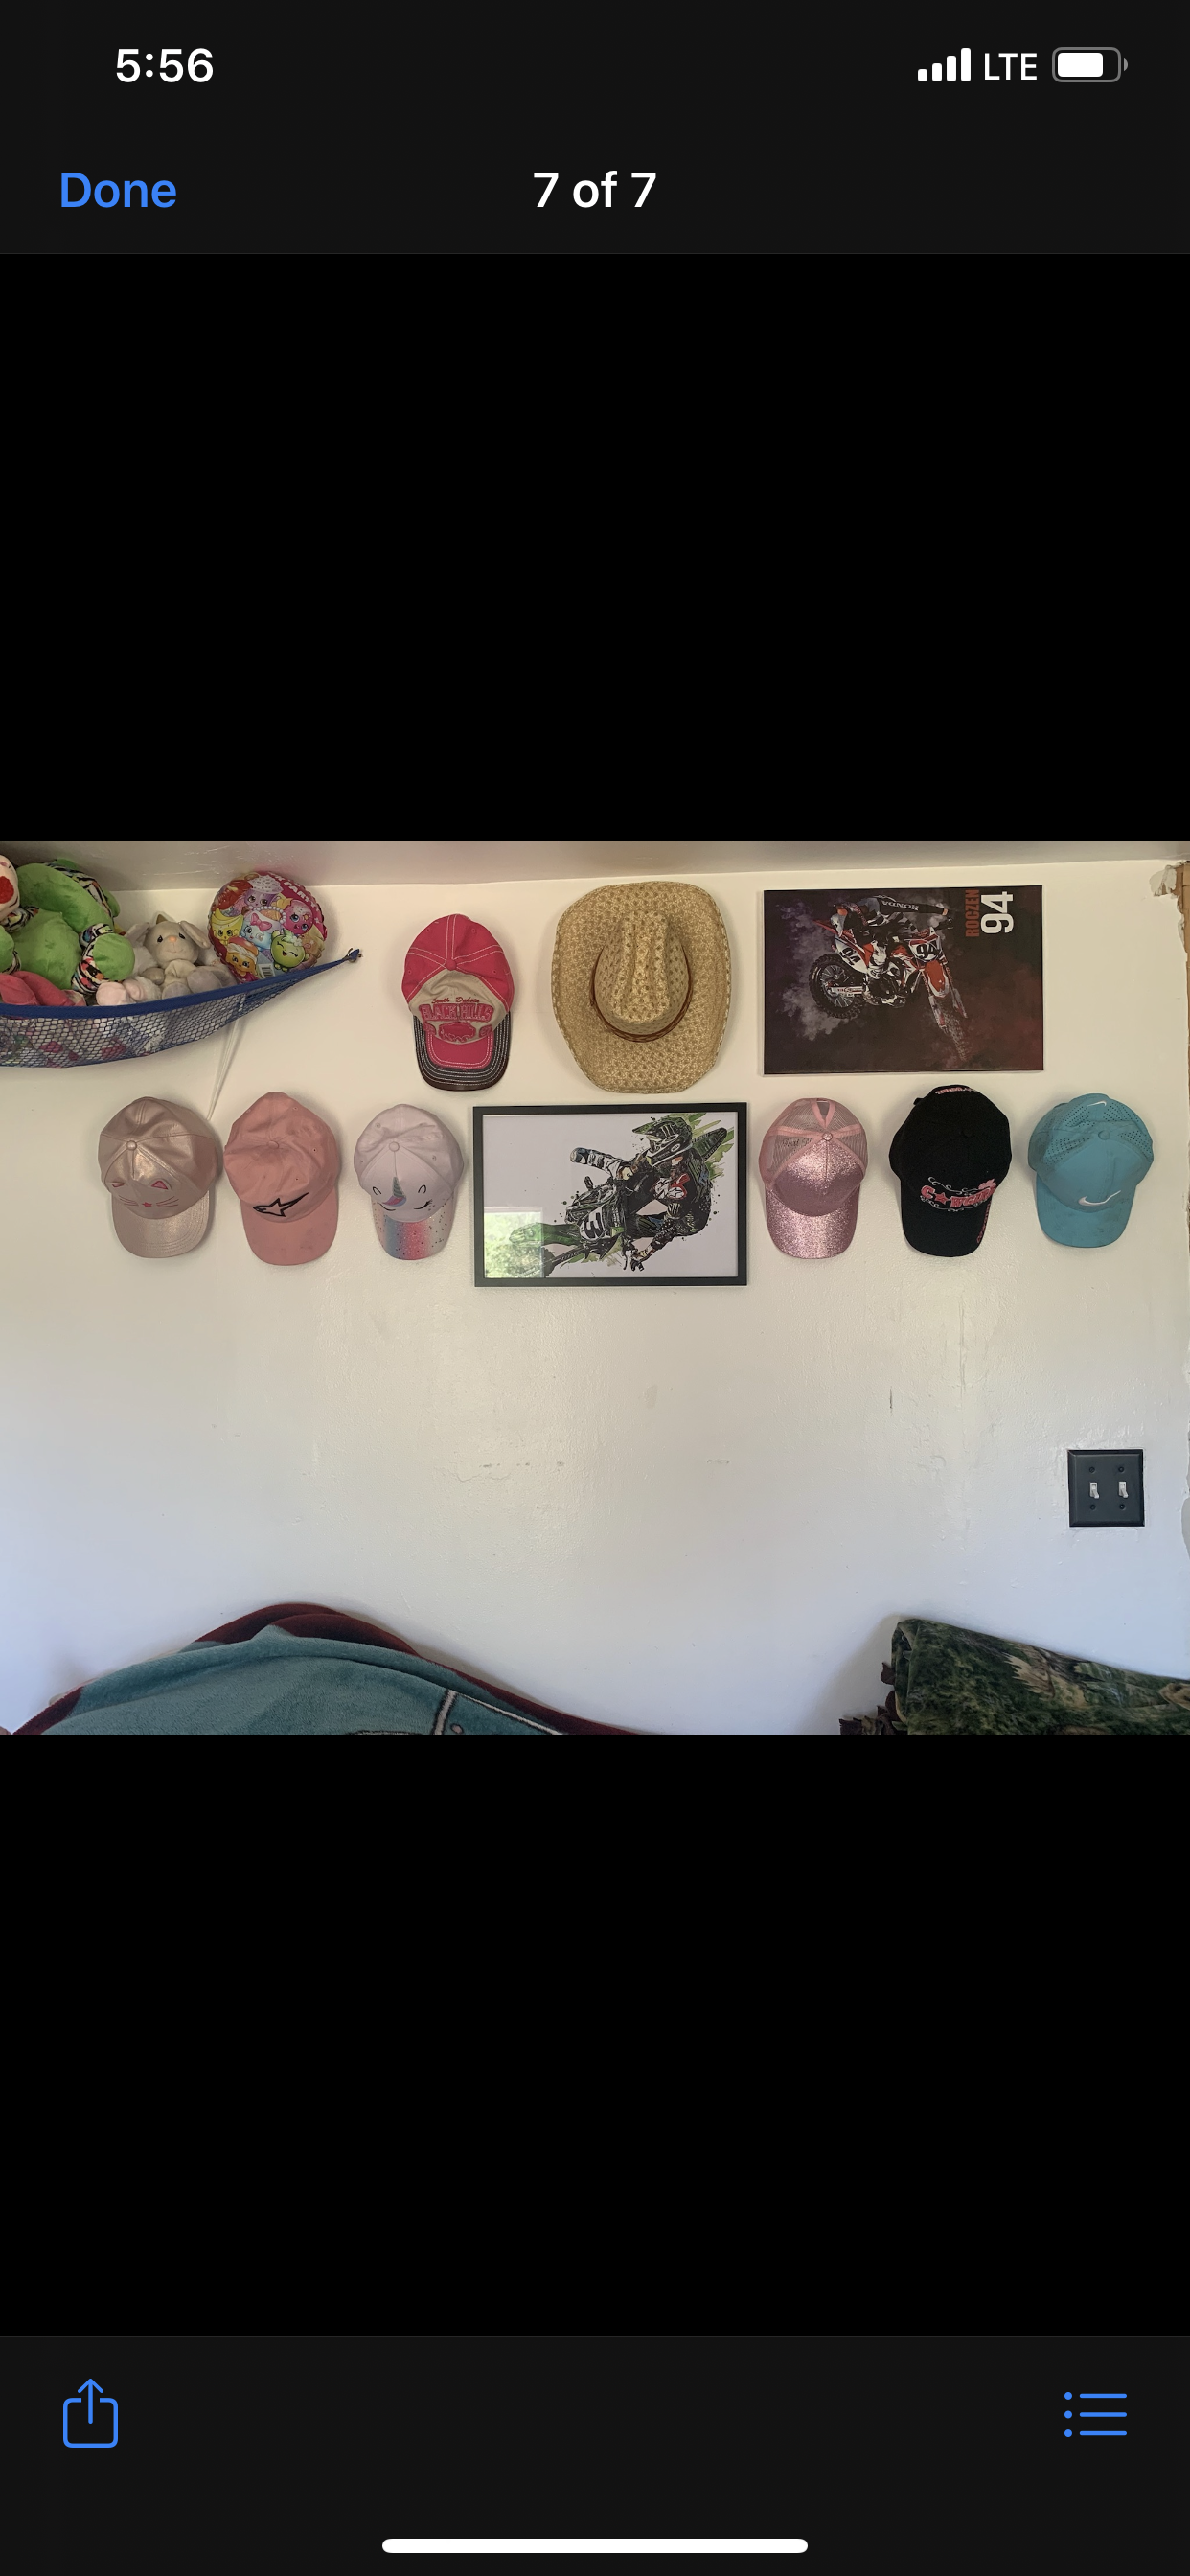
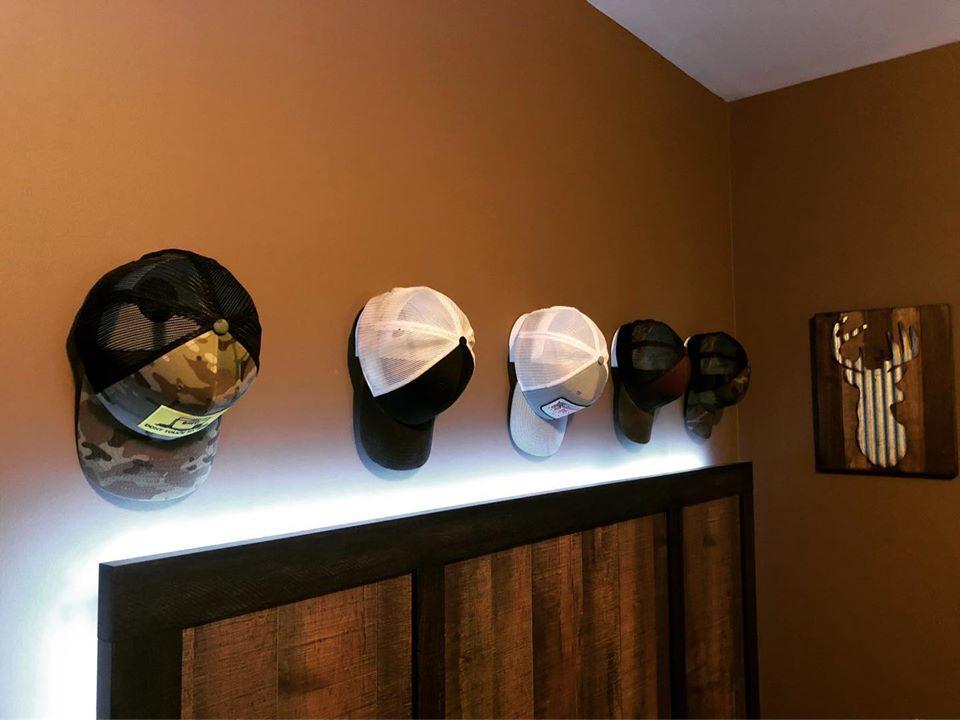
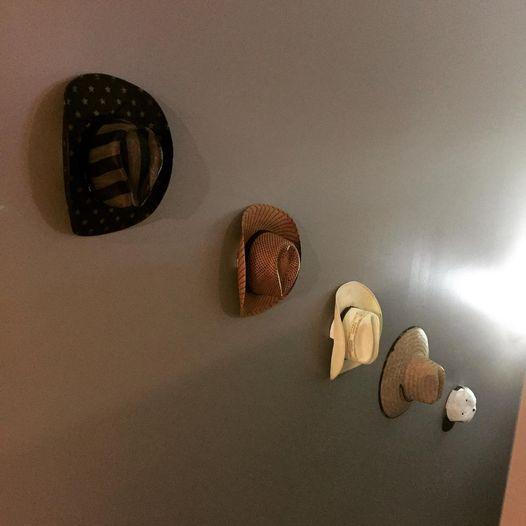
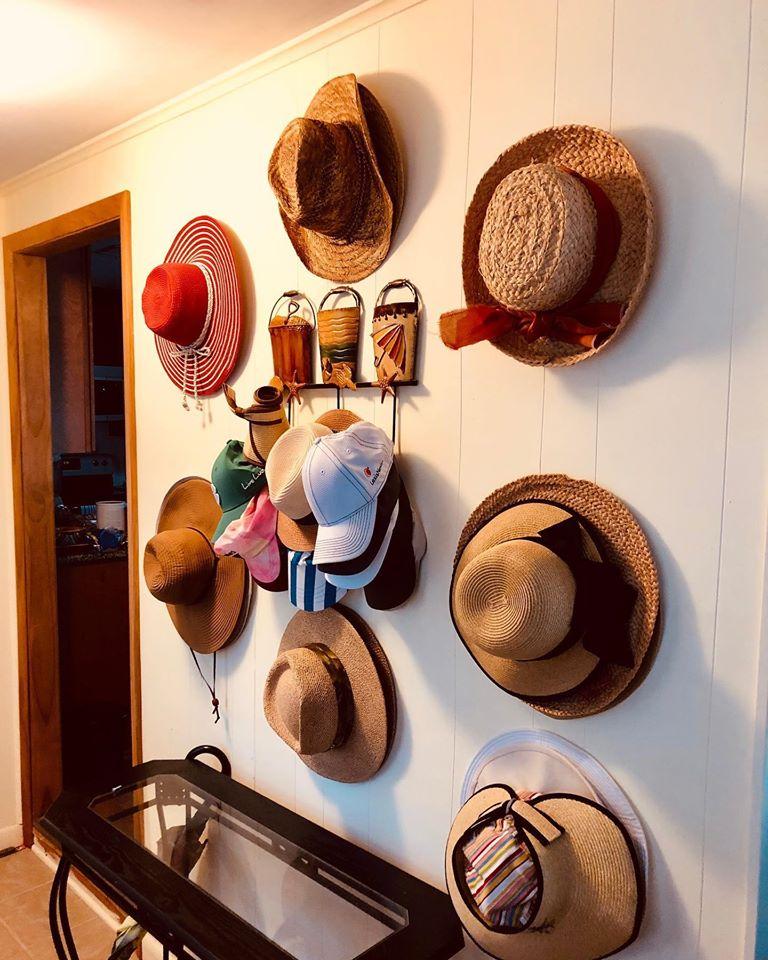
#10. It had to work on almost every single size and shape of hat out there.
#11. It had to be useable for “show” hats as well as every day hats.
#12. It had to be innovative and unique to everything else out there.
As you can see I had quite the list of challenges ahead of me. But the final version of Hat Hangers is something I am extremely proud of and I am happy to say that I met every objective that I set out to do. When I first started designing Hat Hangers I had some of the most complex, interesting and crazy ideas imaginable. Not to mention what would have been incredibly expensive to produce and sell. Every version I made I would work on finding alternate ways to scale it down little by little to meet my 12 criteria. The final result is something so simplistic that most people don’t see past the incredible amount of complex work that went into them. Below I am going to dive deeper into the 12 criteria that make up Hat Hangers to give you an even more in-depth look into their workings.
#1. It had to keep the shape of the hat. I didn’t want to keep wrecking hats
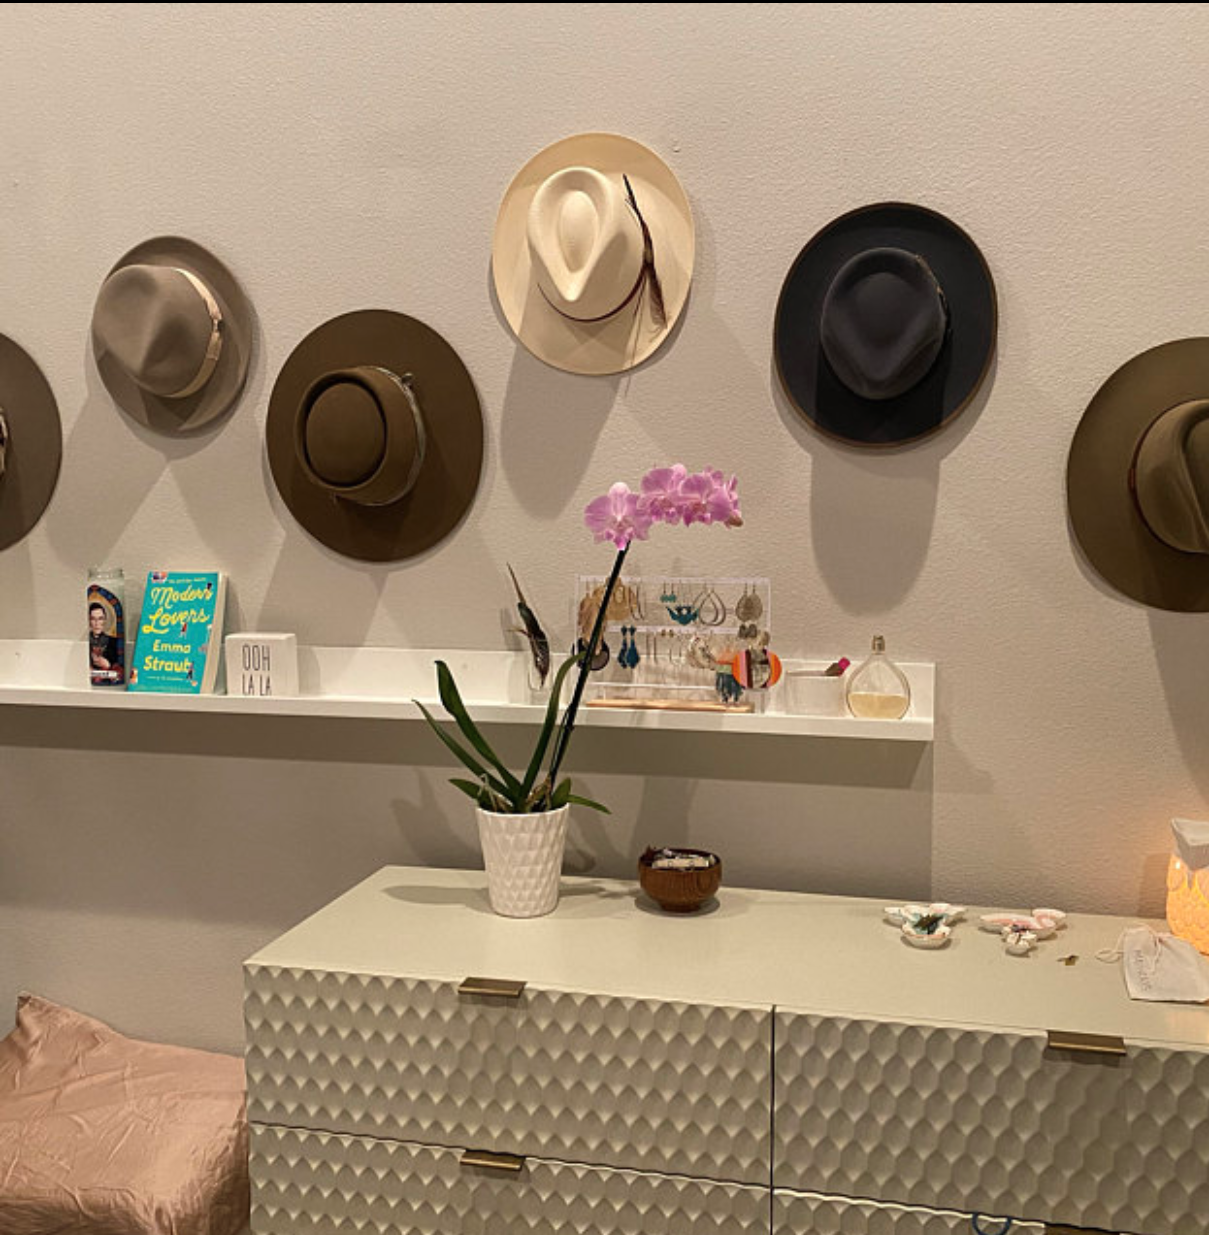
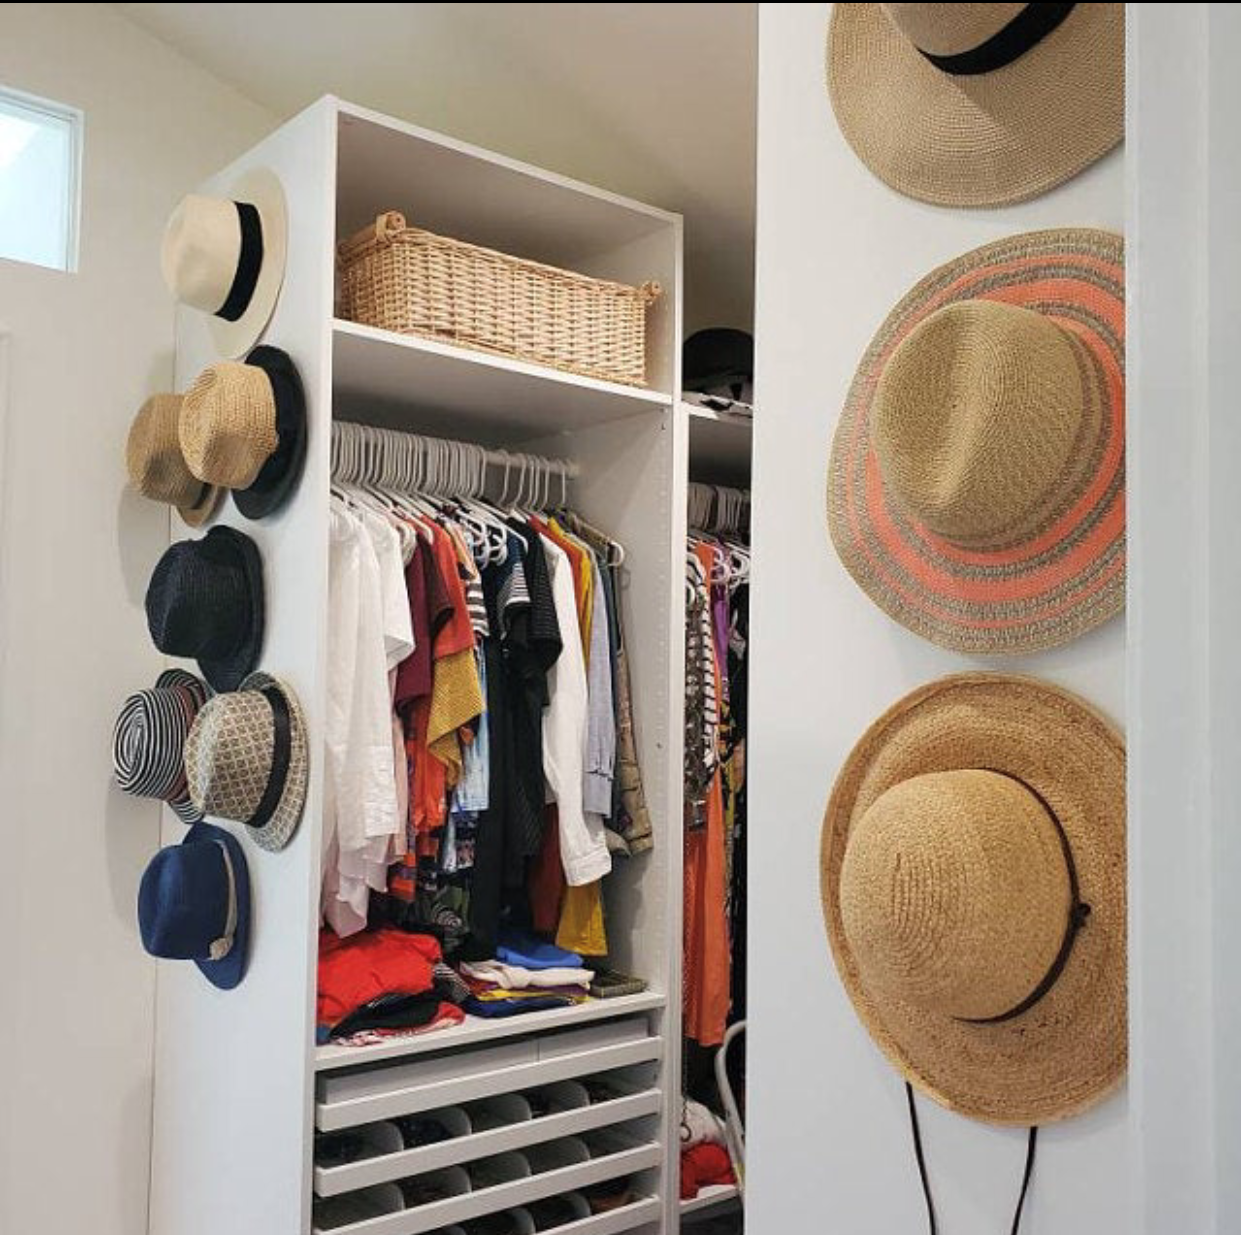
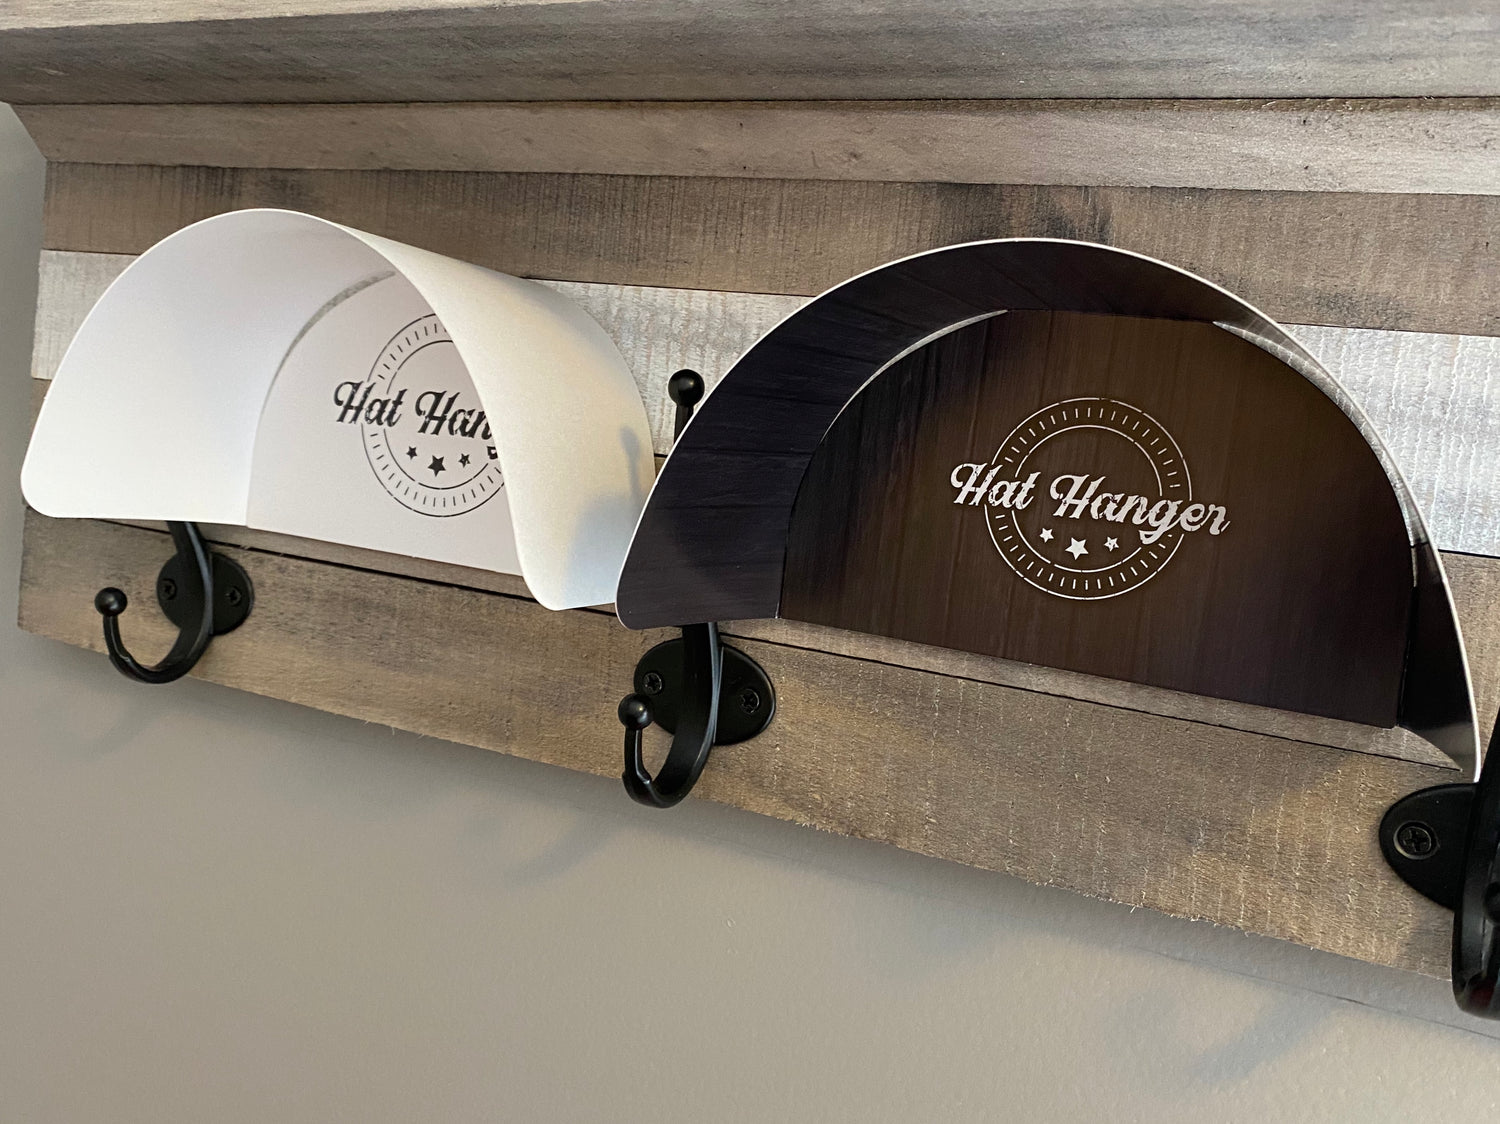
Having a large surface area is key to keeping the shape of the hat. Hat Hangers have a 3” bring extending from the wall to give as much surface area as possible for holding the hat. They have a 6” width to mimic the shape of a human head wearing the hat at all times. Because of the material it has an initial flex on the width. After time the Hat Hanger will shape itself to the hat that is hanging on it.
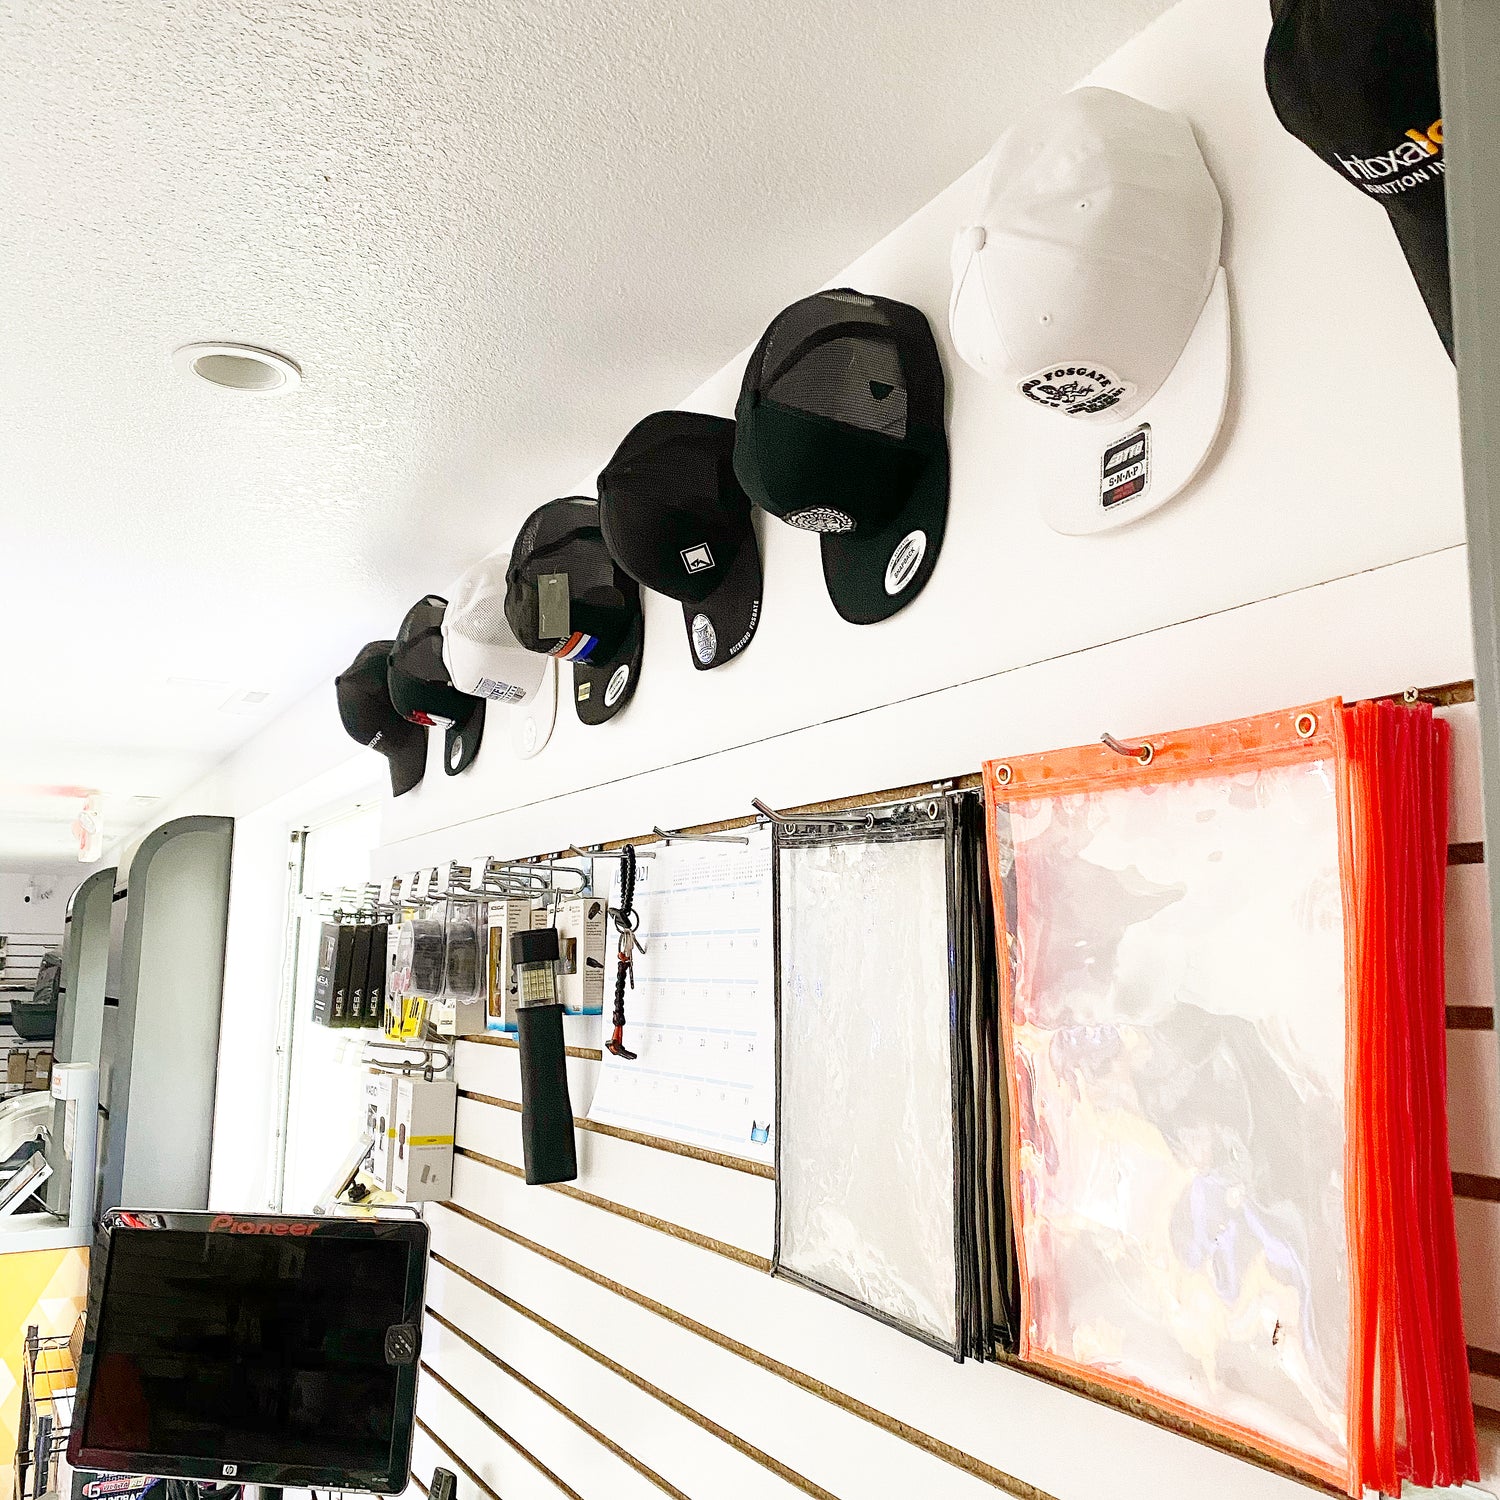
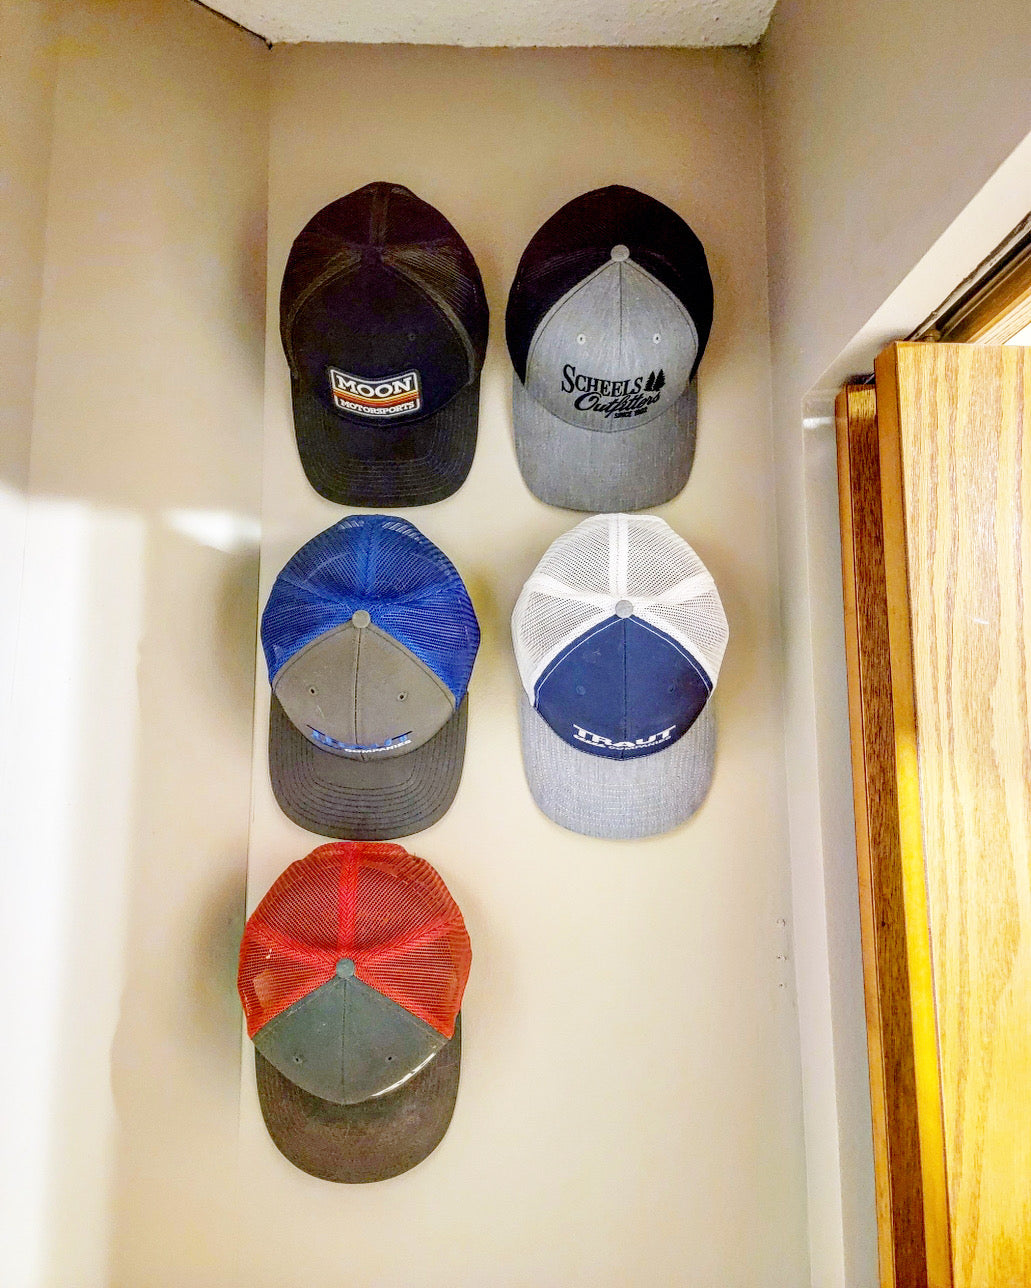
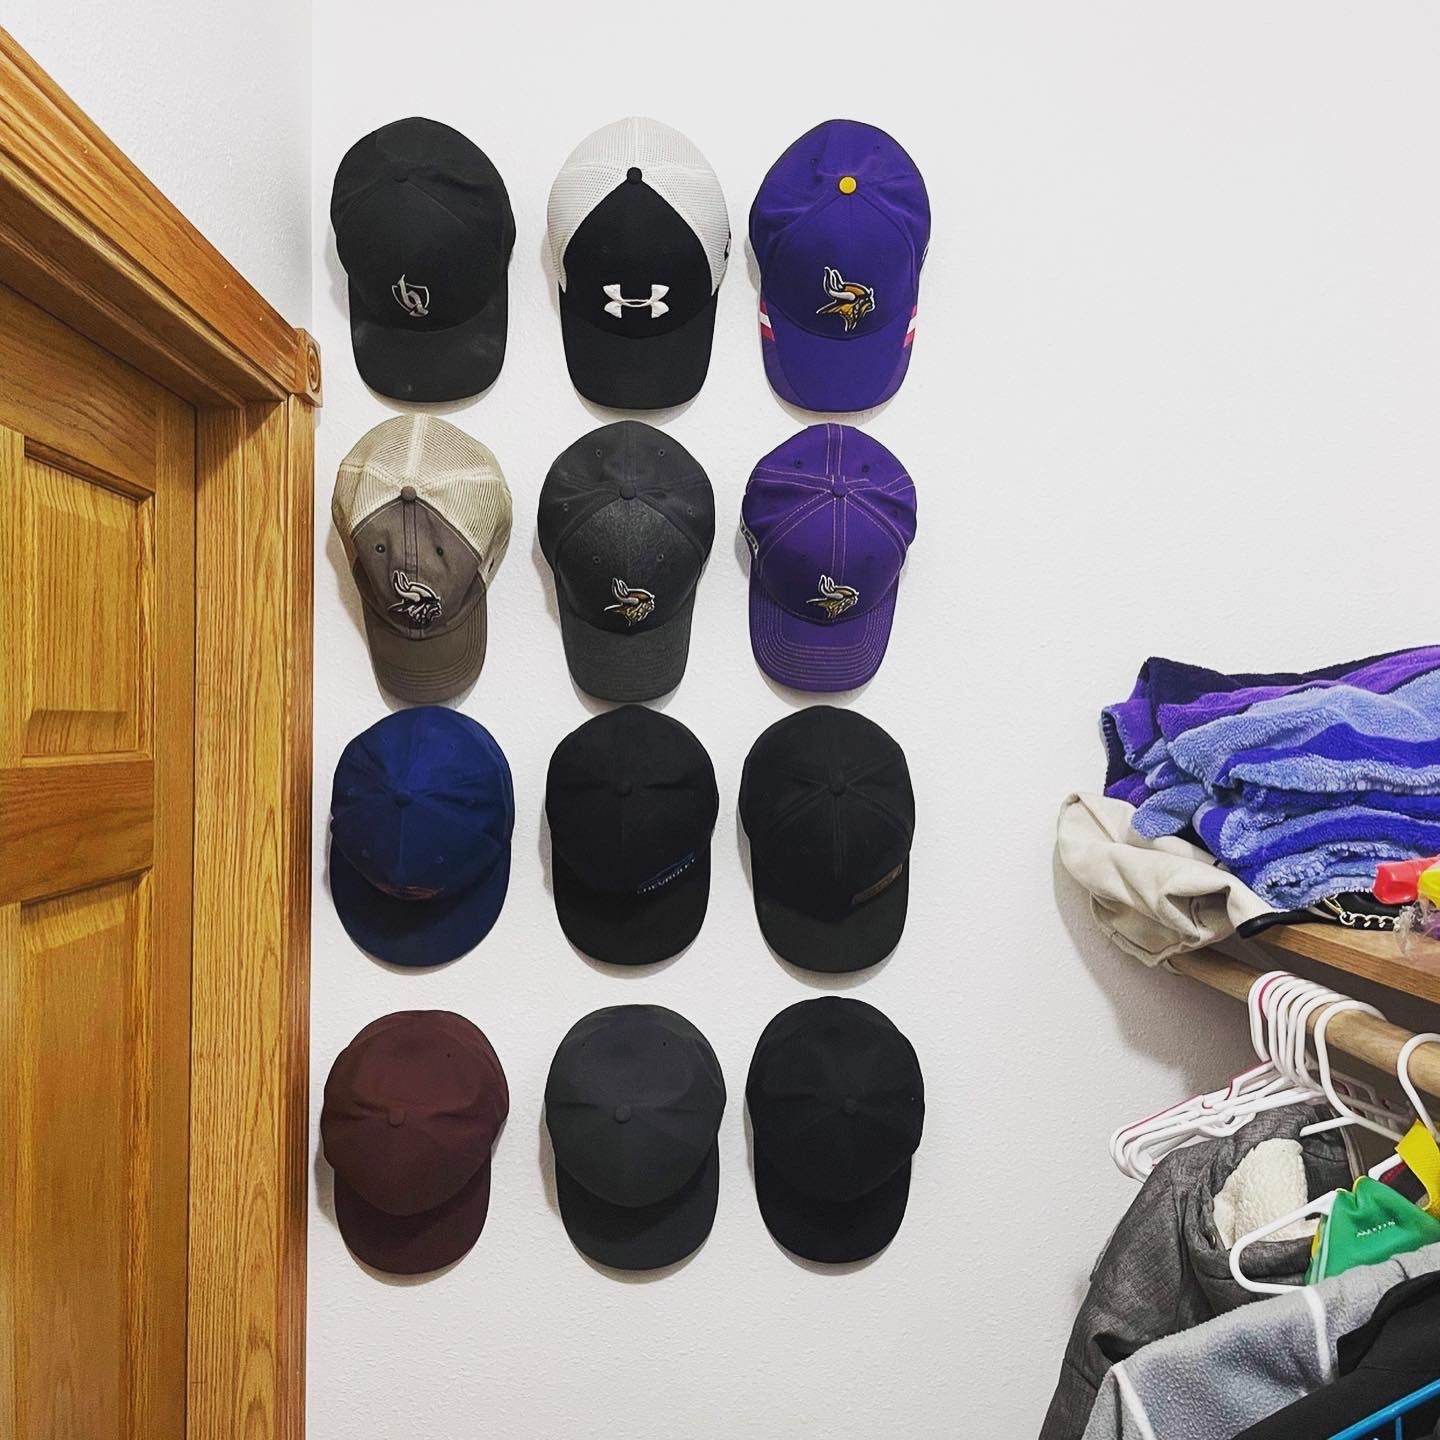
#2. It had to be hidden behind the hat because I only wanted people to see the hats
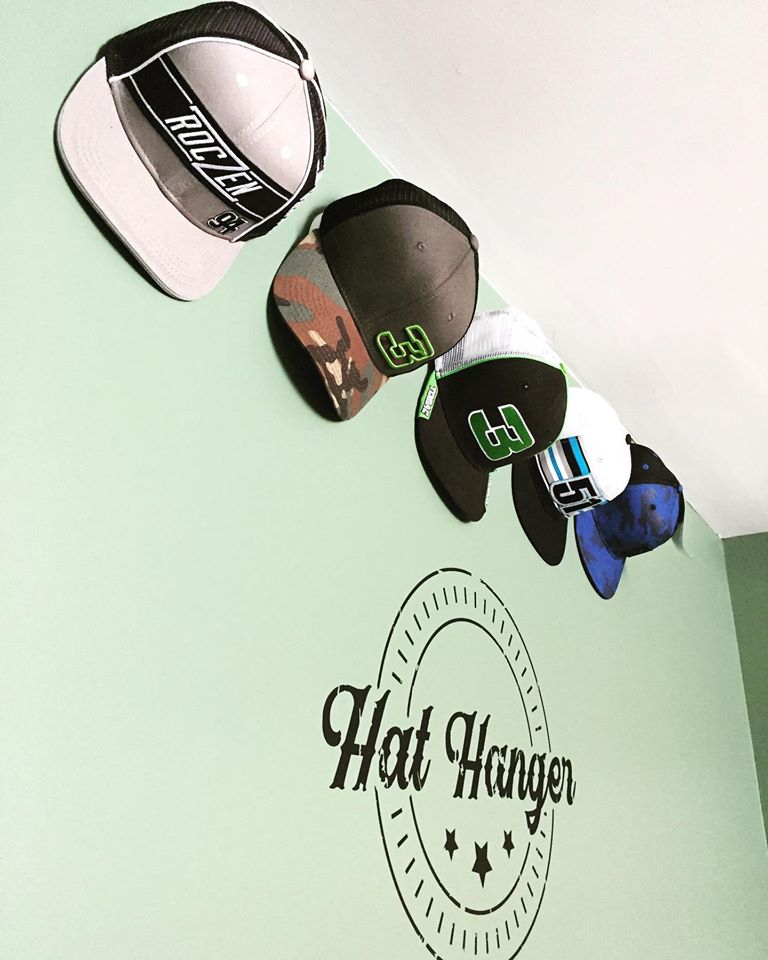
Hat Hangers are designed to mount directly behind the hat and be hidden from view.
#3. It had to be super easy to mount on the wall.
I use a thick foam tape to mount the Hat Hanger to the wall. The thickness of the tape is just enough that it alows it to grab hold of the wall and work around texture. Yet I kept the tape thin enough that it wouldn’t cause the Hat Hanger to stick out any farther from the wall than necessary and also didn’t add undue cost to the product.
#4. It had to be removeable without damage to the walls.
The foam tape that is used on Hat Hangers has different adhesions on opposite sides. The side that is mounted to the Hat Hanger is permanent and incredibly strong. You’ll tear the Hat Hanger in half trying to get it off. The side of the foam tape that attaches to the wall is NON-permanent. It has great adhesion promotions and sticks
incredibly well to the wall yet lets you remove it when you are ready to take your Hat Hanger down or want to reposition it. Don’t be fooled though, it takes a little “umph” to get it off the wall and if you aren’t careful you could destroy your Hat Hanger in the process. It really sticks. After years of testing and hundreds of tests with friends and family not one person has had an issue with it taking paint off the wall. We have tested hundreds and hundreds of these on multiple surface types and paint and haven’t had an issue. Full disclosure here, of course there is no guarantee that it won’t happen to someone someday but in the average situation there hasn’t been an issue.
#5. I wanted it to be repositionable in case I mounted it crooked.
As stated above the tape that is used is NON-permanent and they can be repositioned. I have been repositioning them even up to a year later.
#6. I wanted a design that even if it was a little crooked you wouldn’t notice it because it was hidden.
Because the Hat Hanger is rounded and is mounted behind the hat, even if it is a little crooked you won’t notice. I didn’t want someone to have to get out a level, ruler, calculator and engineering degree to hang these. Just put them together and stick them up. If it doesn’t look good just move it until it does.
#7. I wanted a renewable material.
In the beginning I worked with plastics, aluminum and all other types of materials to make these. But I knew in the end I wanted something renewable. Using a coated box board material allowed that to happen. Not only is it a renewable resource but it had a lot of the other qualities that I needed in these 12 criteria. It actually surpassed my expectations for the product that I needed and it holds up incredibly well.
#8. It had to be very affordable.
Criteria #7 was about a renewable material and the box board that I use. It worked in every aspect that I needed including this one. Affordability. Everything was taken into account when it came to affordability. I looked at size and shape for shipping, the amount of tape needed to mount to the wall and the amount of tape needed for
assembly. Everything was carefully planned to not be wasteful yet maintain every aspect of quality in a Hat
Hanger.
#9. It had to be of a size and shape that didn’t cost a lot of money in shipping.
Shipping products is a part of every day life now. I always hate having to pay shipping on something inexpensive. That’s why this was one of the #12 steps I had laid out. I knew that preassembled Hat Hangers would take up a lot of room for shipping and increase the cost. From the beginning I wanted to be able to mail these through the Post Office and get them to people as quickly and efficiently as possible. I always knew they would have to fit inside a large manilla envelope. The was certainly one of the most challenging of the 12 items. This is why Hat Hangers come flat and are put together once opened. Not only does this allow less expensive shipping but it cuts down on manufacturing costs. The allows more Hat Hangers to be store in less space, less shipping costs during manufacturing and overall easier handling.
#10. It had to work on almost every single size and shape of hat out there.
This was a big one for me. At first it started with baseball hats with sizes of Youth, S/M and L/XL. But I kept
refining it more and more. I wanted it to fit Cowboy hats, sun hats, fedoras, pork pies and so much more. As of now the only hats that can be problematic are some designs of Cowboy hats. With Hat Hangers extending 3” from the wall it is recommended to check your Cowboy hat to make sure there isn’t a large gap from the wall to the hanging area. Just put it up against the wall and take a measurement. But not to worry, I’m working on some thing for those too.
#11. It had to be useable for “show” hats as well as every day hats.
I wanted to make sure that hats could quickly be put on and taken off of the Hat Hangers. Some of the designs out there and even some that I can up with had an elaborate system of attaching the hat to the hanger. In the end, be cause of the pressure fit, hats come on and off with no effort. You just grab your hat on the way out the door.
#12. It had to be innovative and unique to everything else out there.
As I mentioned, there wasn’t a product already produced that fit all of my needs. I knew from the beginning that the outcome would be innovative and unique. But I didn’t want a product that looked or acted like any others out there.